
How to Sculpt Candles

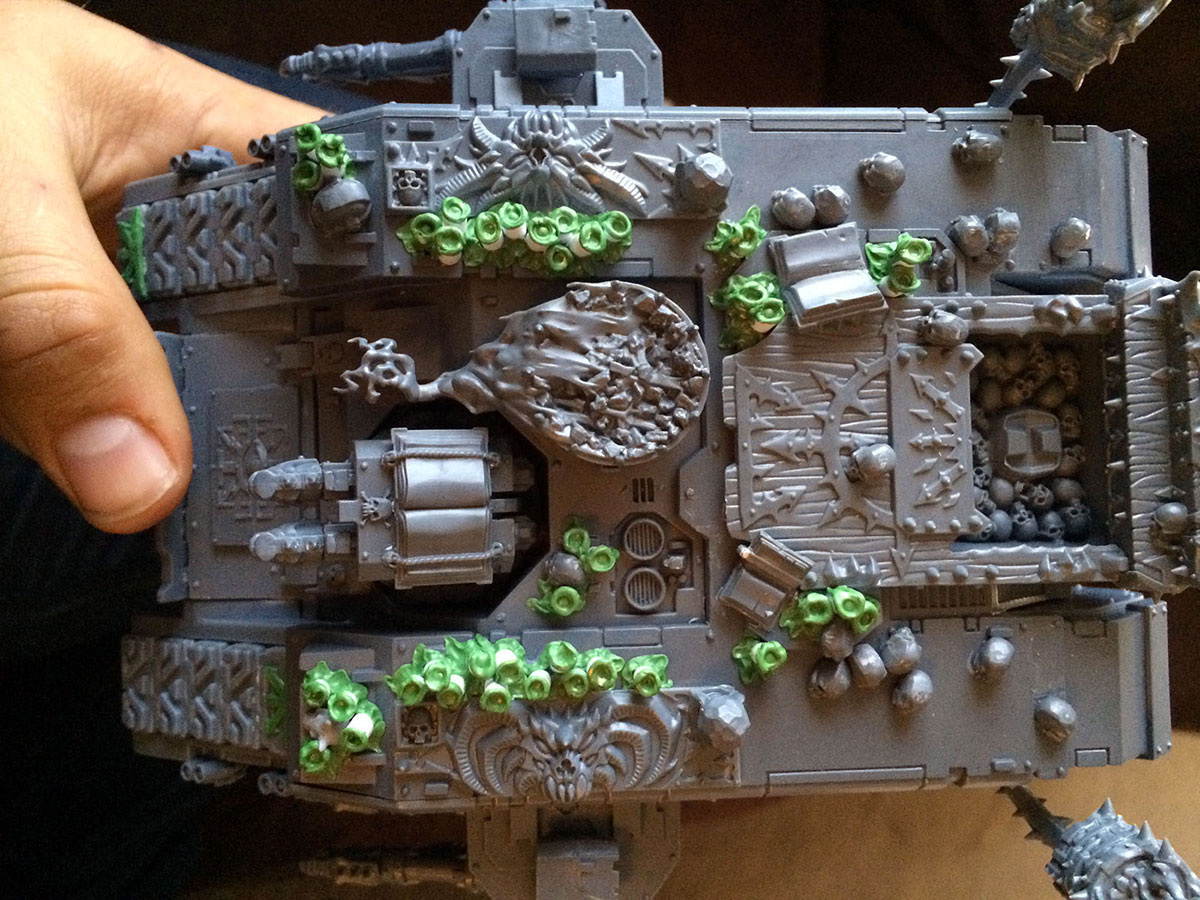
A few weeks ago I posted some progress I've been making on some Land Raiders for my Black Legion army. Last night I decided to finally get off my lazy butt and finish the candles on The Shrine Land Raider. Since I was going to be making a ton of candles, I figured this was a perfect opportunity to write a little tutorial on how I did it.
Step 1
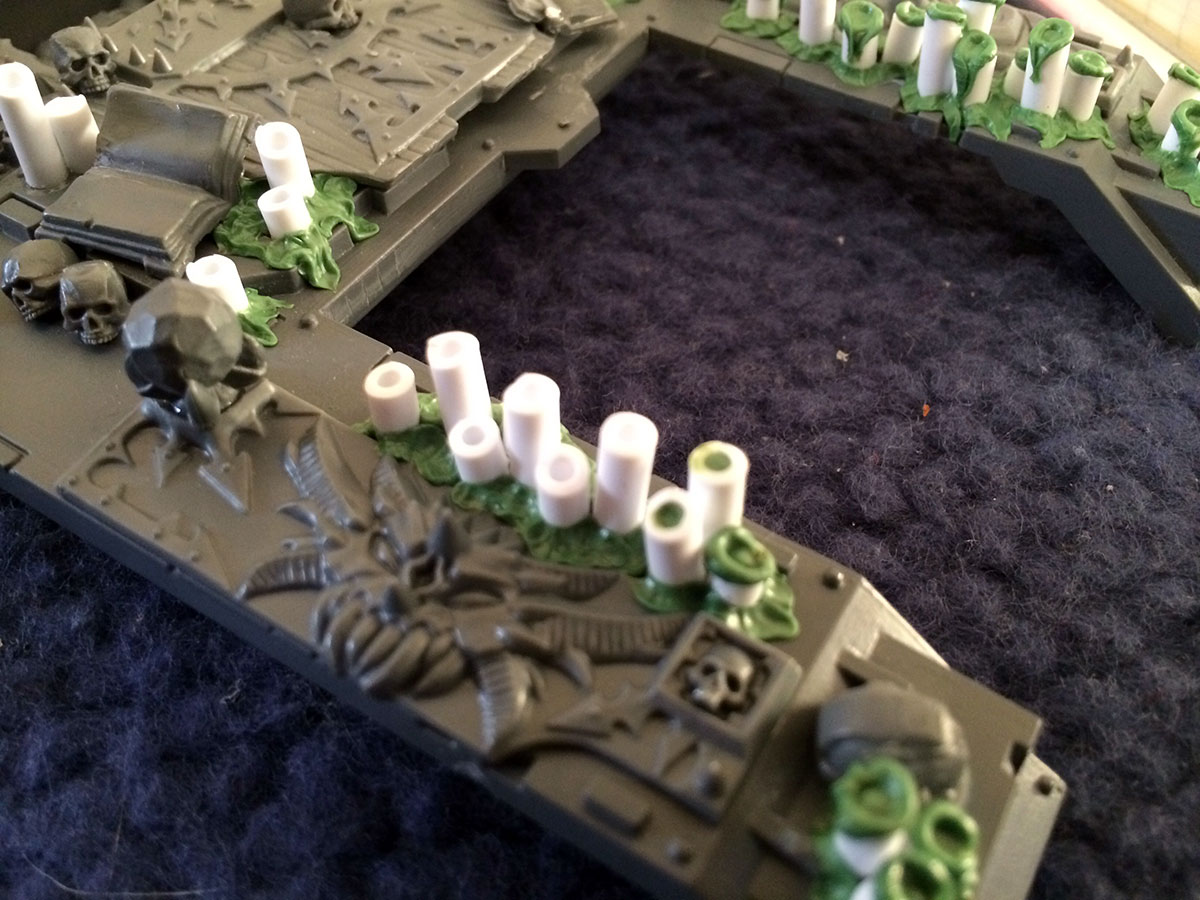
I started by gluing down a bunch of plastic tubes to serve as the main cylinder of the candles. I cut them at angles and kind of just glued them down everywhere. I also added a bit of greenstuff around the bases which were roughly mashed into place to make the effect of pooling wax.
Step 2

Apply a small rolled ball of greenstuff to the top of the candle.
Step 3

Using a rounded ball sculpting tool, press the greenstuff into the tube. This starts to create the bowl caused by the burning candle.
Step 4
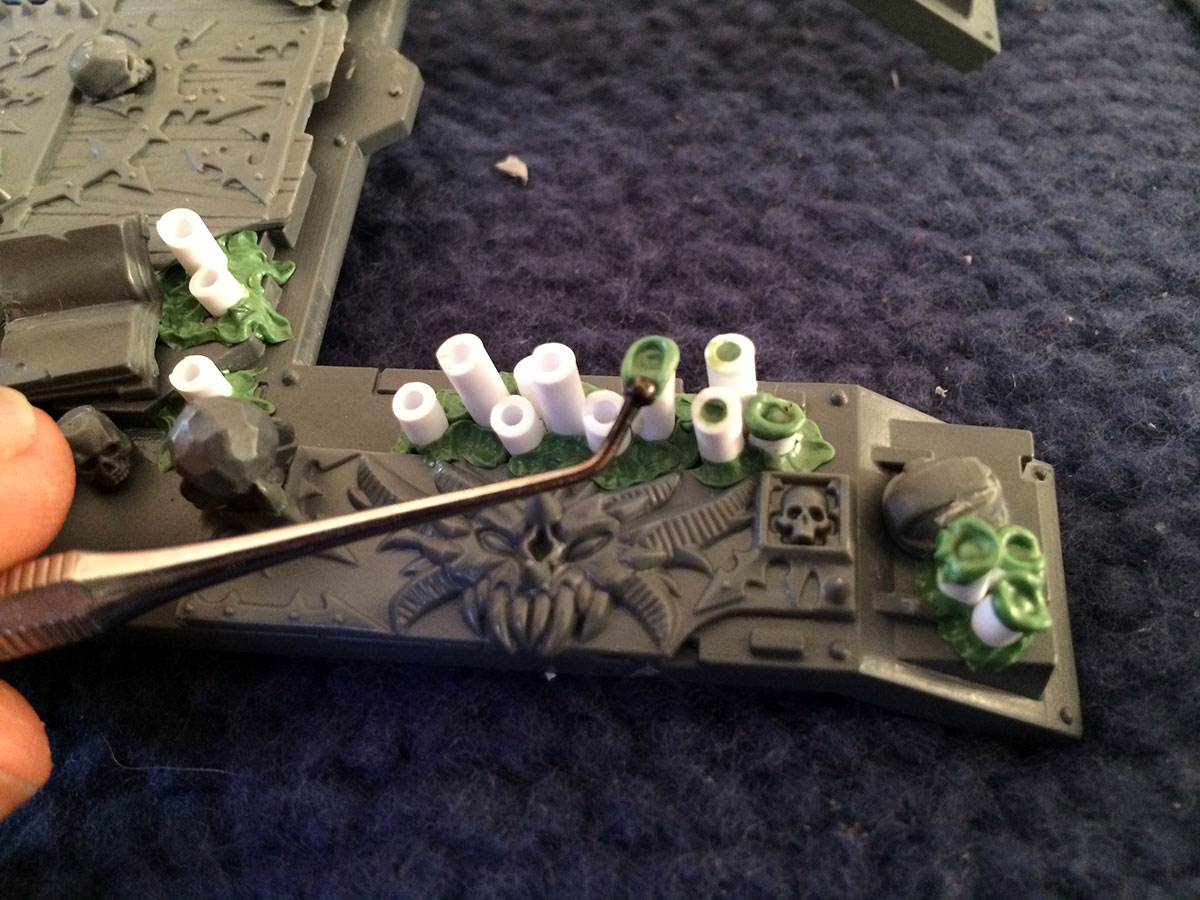
With the same tool, drag one end of the greenstuff down the side of the tube to create the effect of wax flowing down one side.
Step 5

Press the two sides of the greenstuff inward to make the drippings more narrow.
Step 6
Keep playing with the tool to create some variation in the greenstuff around the bowl of the candle as well as the drippings.
Complete!
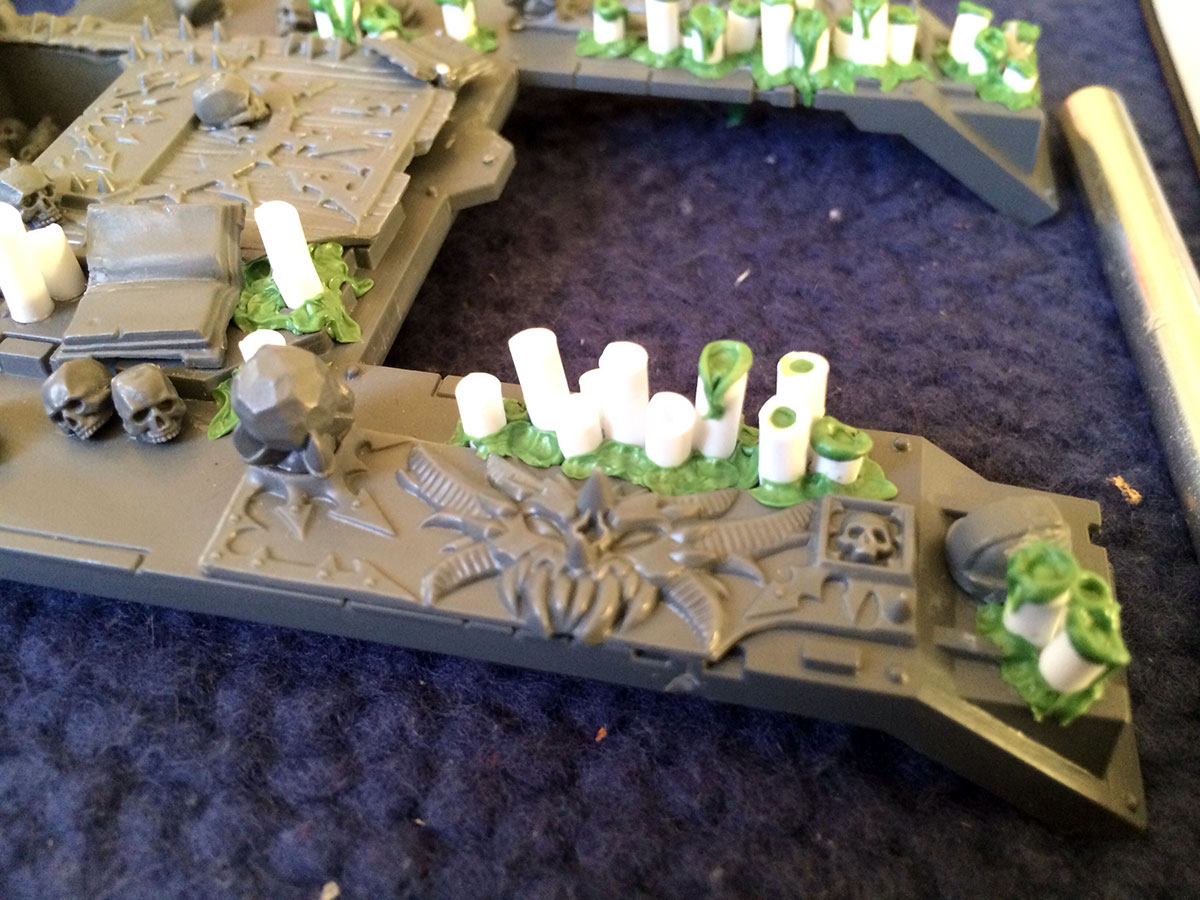
 Overall the process is quite painless and the effect is well worth the effort! Next I'll be adding some wicks (thread dipped in super glue) and then it'll be ready for paint!