The Art of War: Blinded by the Light
Heya folks and welcome again to this week's edition of The Art of War! This week, we'll be covering one of the more advanced painting techniques: Object Source Lighting (as well as a little bit of a follow-up from the first article). Object Source Lighting (or OSL from this point on) is a great technique to use for things like power weapons, psychic powers or torches. It adds realism, depth and a "wow" factor to a model. It's considered an advanced technique as it combines a lot of blending and shading. You also need to be able to understand where the light is coming from and how intense you want the light to be.
Direction and intensity are the two primary principles behind OSL. Light travels in straight lines and reflects off of objects in its path. So, you have to understand where your light is coming from and how strong or subtle the source. Also understand that, the closer an object is to the light source, the brighter the reflection.
Now, here's where we take this idea and attempt to put it into practice. I decided to do today's tutorial with a Terminator Librarian. Now that I've chosen the model, I decide what I want to have a bit of a glow to it. Since he's a psyker, I figure I'll have his eyes glow and then, since he has an outstretched hand, I want that to glow as well to make it look like he's ready to kill some heretics with his mind.
As you can see in the picture above, I've already completed the palm lighting. I've left the eye incomplete as that's where I'll be basing the light source. You can really choose any color, but you will want to choose a lighter hue. For this model, I used the P3 paint Necrotite Green as the basis and used Morrow White gradually mixed in for shading.
To start with, I paint the eye, upper cheekbone, side of the nose and just under the eyebrow with Necrotite Green.
Next, I mix a bit of White with the green and do gradual shading up to just pure White at the very edges.
Now I take a look at the model and what edges the light would hit if coming directly from the eye, in this case the collar of his armor and a couple of the edges closer to his face. So, I perform the same shading, starting with Necrotite Green and shading up from there, doing gradual highlighting and mixing small amounts of White in with each stage.
And there we go! We have a finished model with a couple of OSL sections. I decided to go with very subtle lighting, but you can go with something much brighter if the object is closer to the light or if you want more intensity from your source. Just remember to draw some invisible lines from the source and use that as the basis for your shading/highlighting/blending.
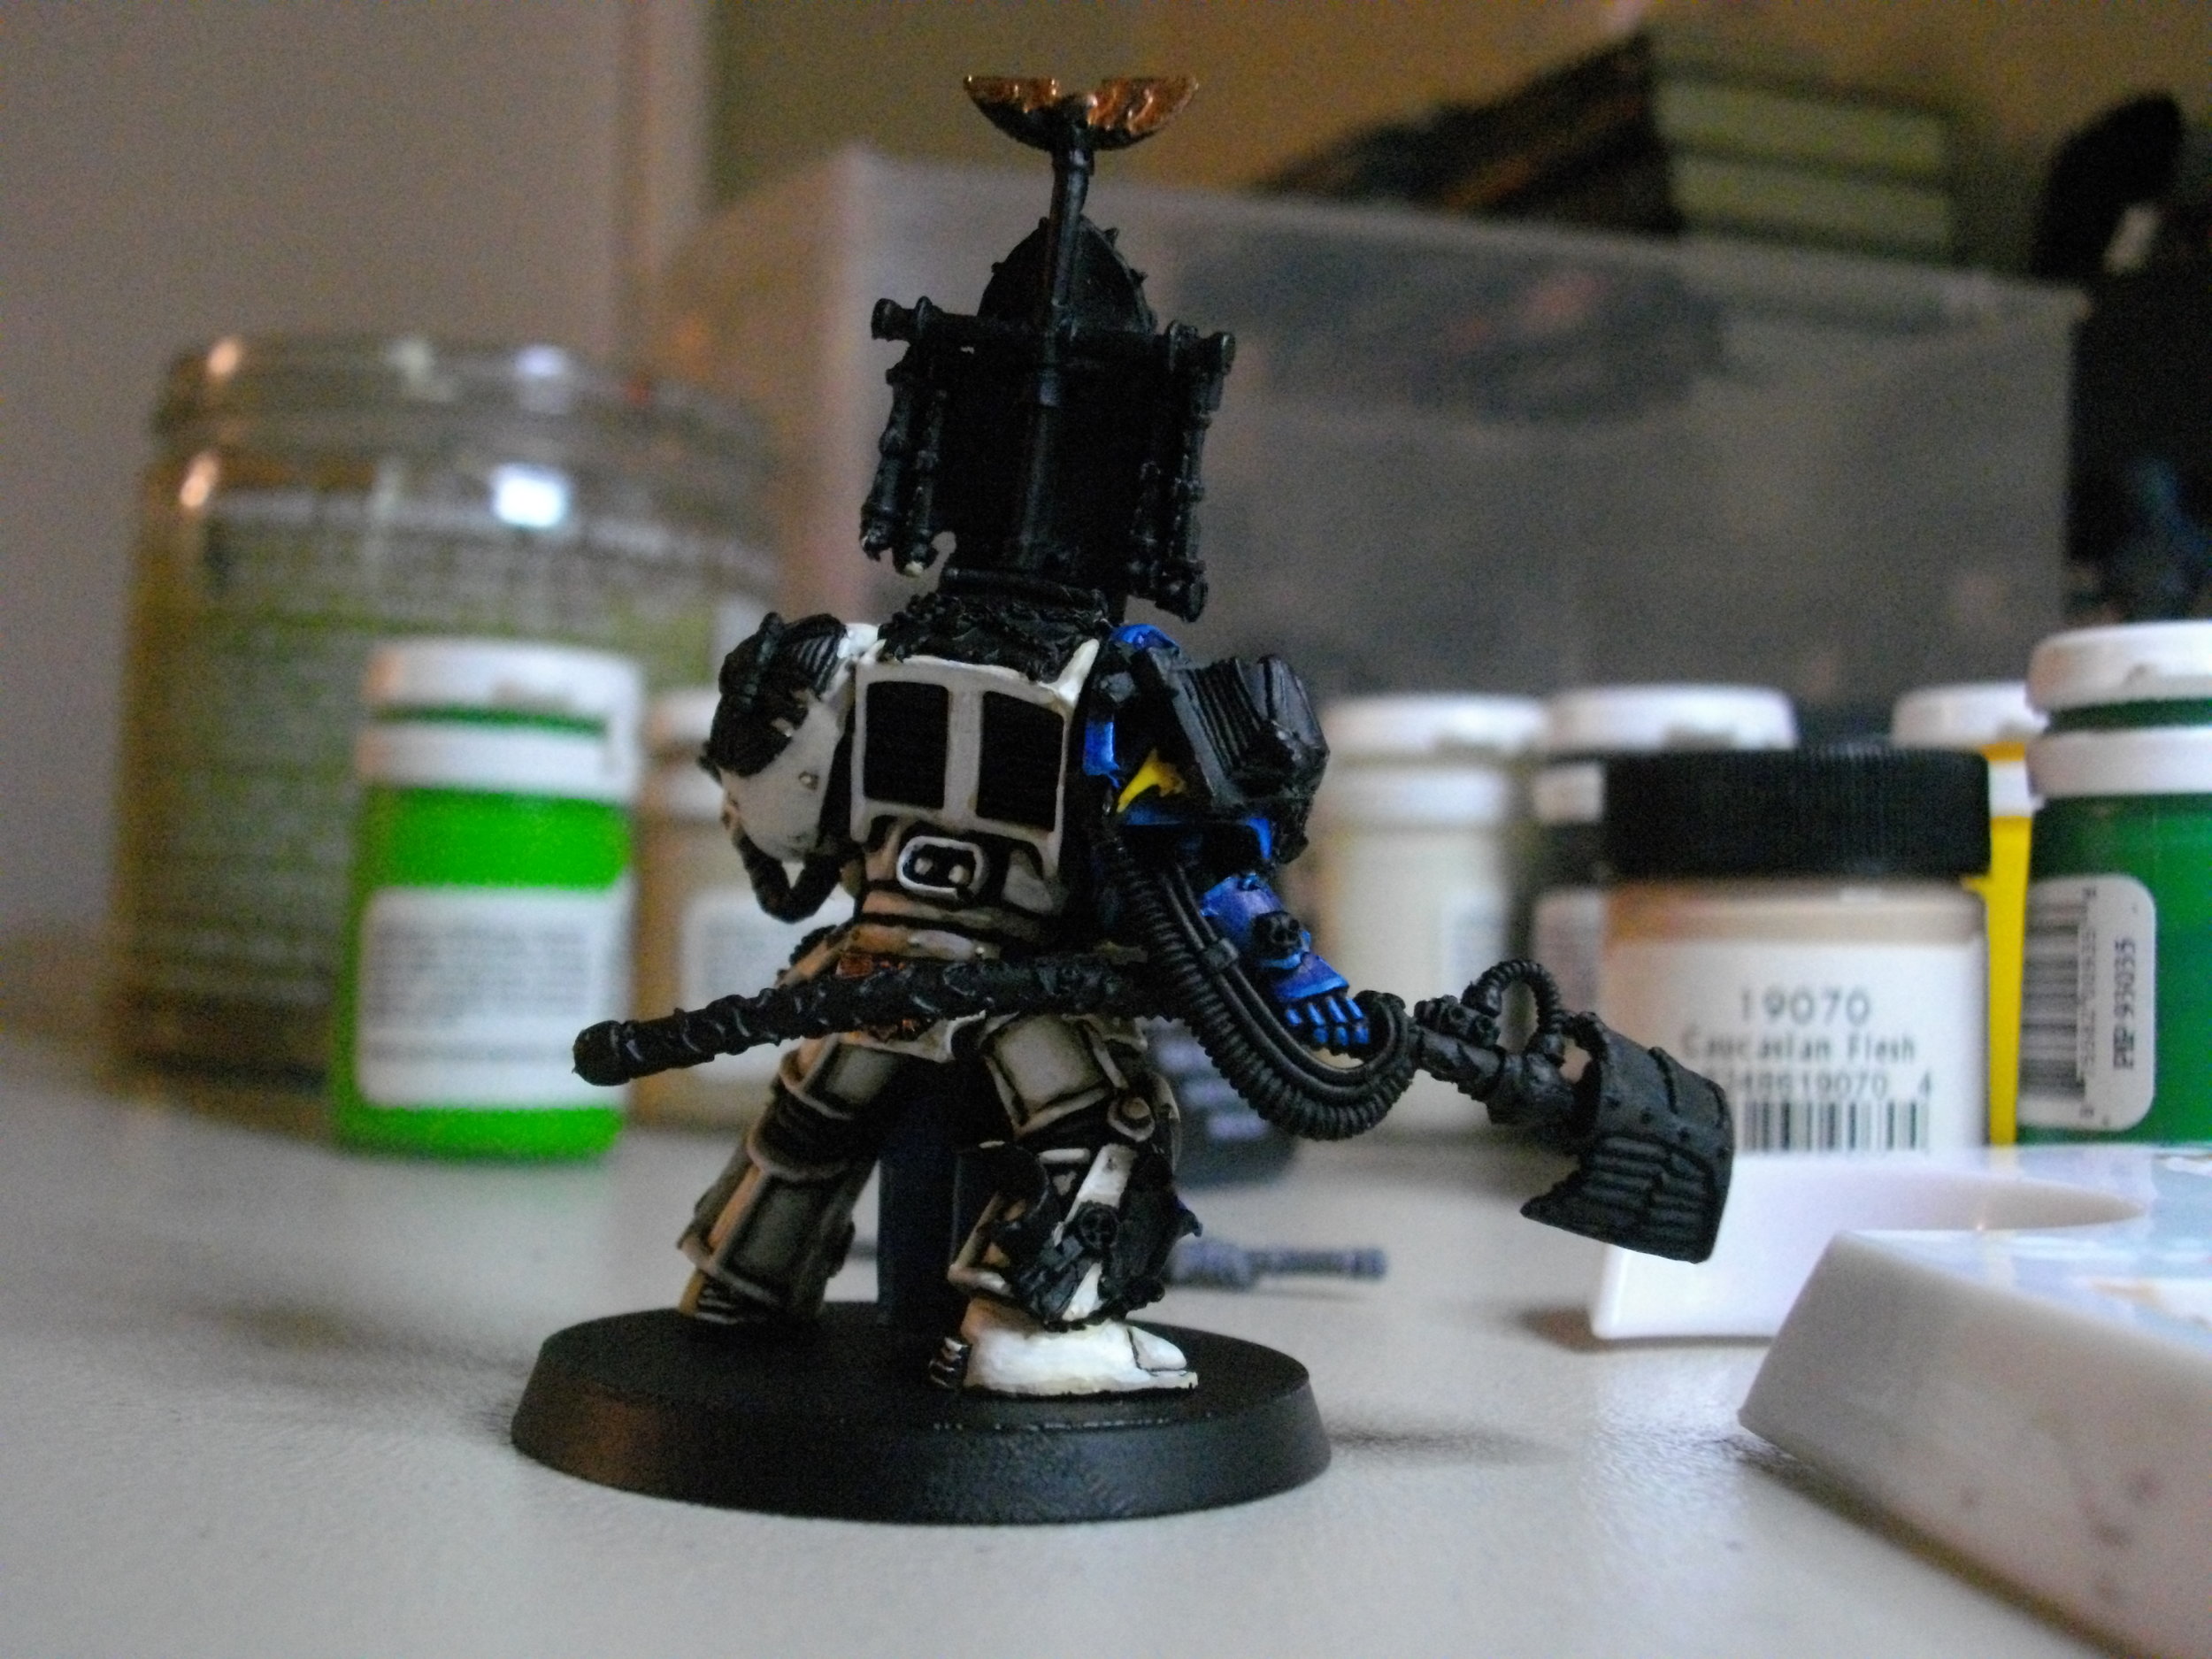
Finally, I have a bit of an update from the Finecast article. As you can see, the staff is extremely bent and warped. This is because the model was in my case in my car for a little under a day. So, I would STRONGLY advise keeping your Finecast models out of intense heat or you should be prepared to have a blow drier handy to heat the section of the model for a lengthy "re-bending" session.
Anyways, until next week, keep those brushes clean!


